Making a DIY projector is very easy!
All you need is a flashlight, magnifying glass, and transparent paper.
Maybe you want to make an Art Project to display small drawings or letters on a big screen to engage your kids.
If so, then this article is the best fit for you.
In this short article, we will discuss a 15-minute procedure to make a projector using a flashlight.
List of things that you will need to make a DIY Projector
- Flashlight
- Magnifying Glass
- Transparent Paper
- Glue
- Scissor and cutter
- Rubber band
- Cardboard or Thermocol Sheet
Now without any further ado, let’s get started.
How to Make a DIY Art Projector Using Flashlight
Step #1 – Take the flashlight and cover its light-emitting end with tissue paper. Use the rubber band to secure the paper in place.
Step #2 – Take a transparent paper and draw a fun structure or letter or even a small cartoon.
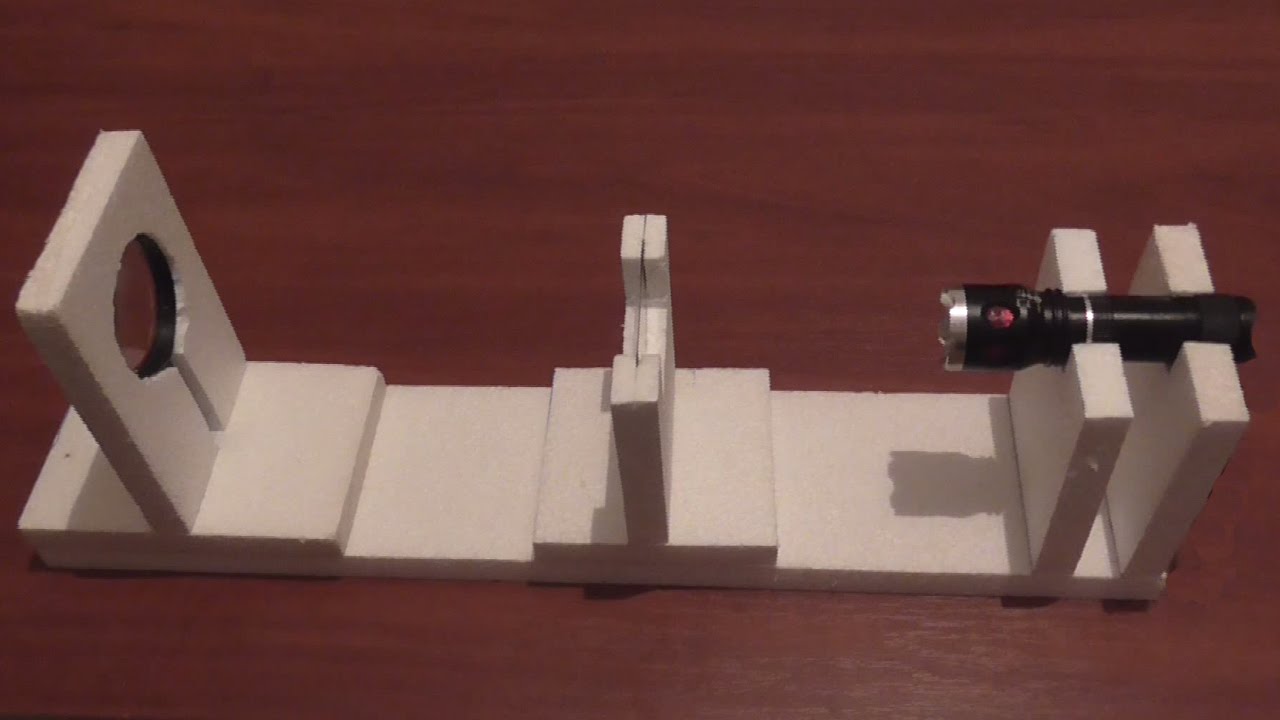
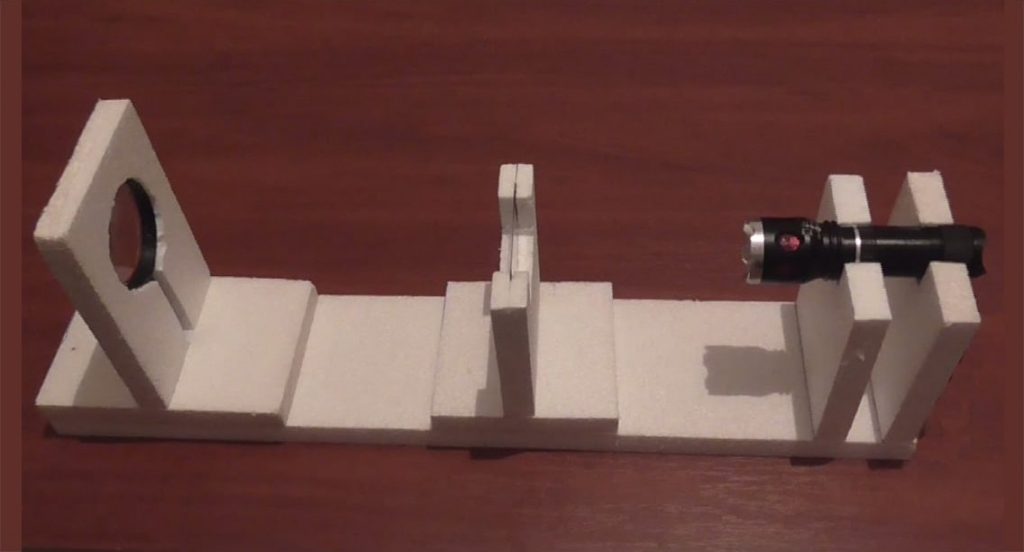
Step #3 – Use thermacol sheet to design a structure on which you can arrange a flashlight, transparent paper, and magnifying glass in a row (see the following image).

Step #4 – Point this arrangement towards a white wall.
Step #5 – Turn off the room lights.
Step #6 – Turn on the flashlight.
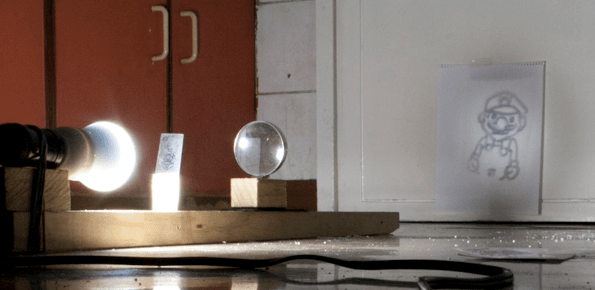
Step #7 – At last, you will see a big drawing projected on a screen as below,

Final Words
If you want a bigger picture, you can increase the distance between the wall and your DIY projector arrangement.
But note that the further away you will move, the fainter the image will get.
Finally, to avoid this faint image issue consider using a flashlight with an intense light beam.


